Storyteller end to end
Every image on this page is a live screenshot of the app, taken on a real project: “The Final Ridge”, a documentary about the 1972 Andes plane crash. Walk through all eight steps and you come out with a finished video file.
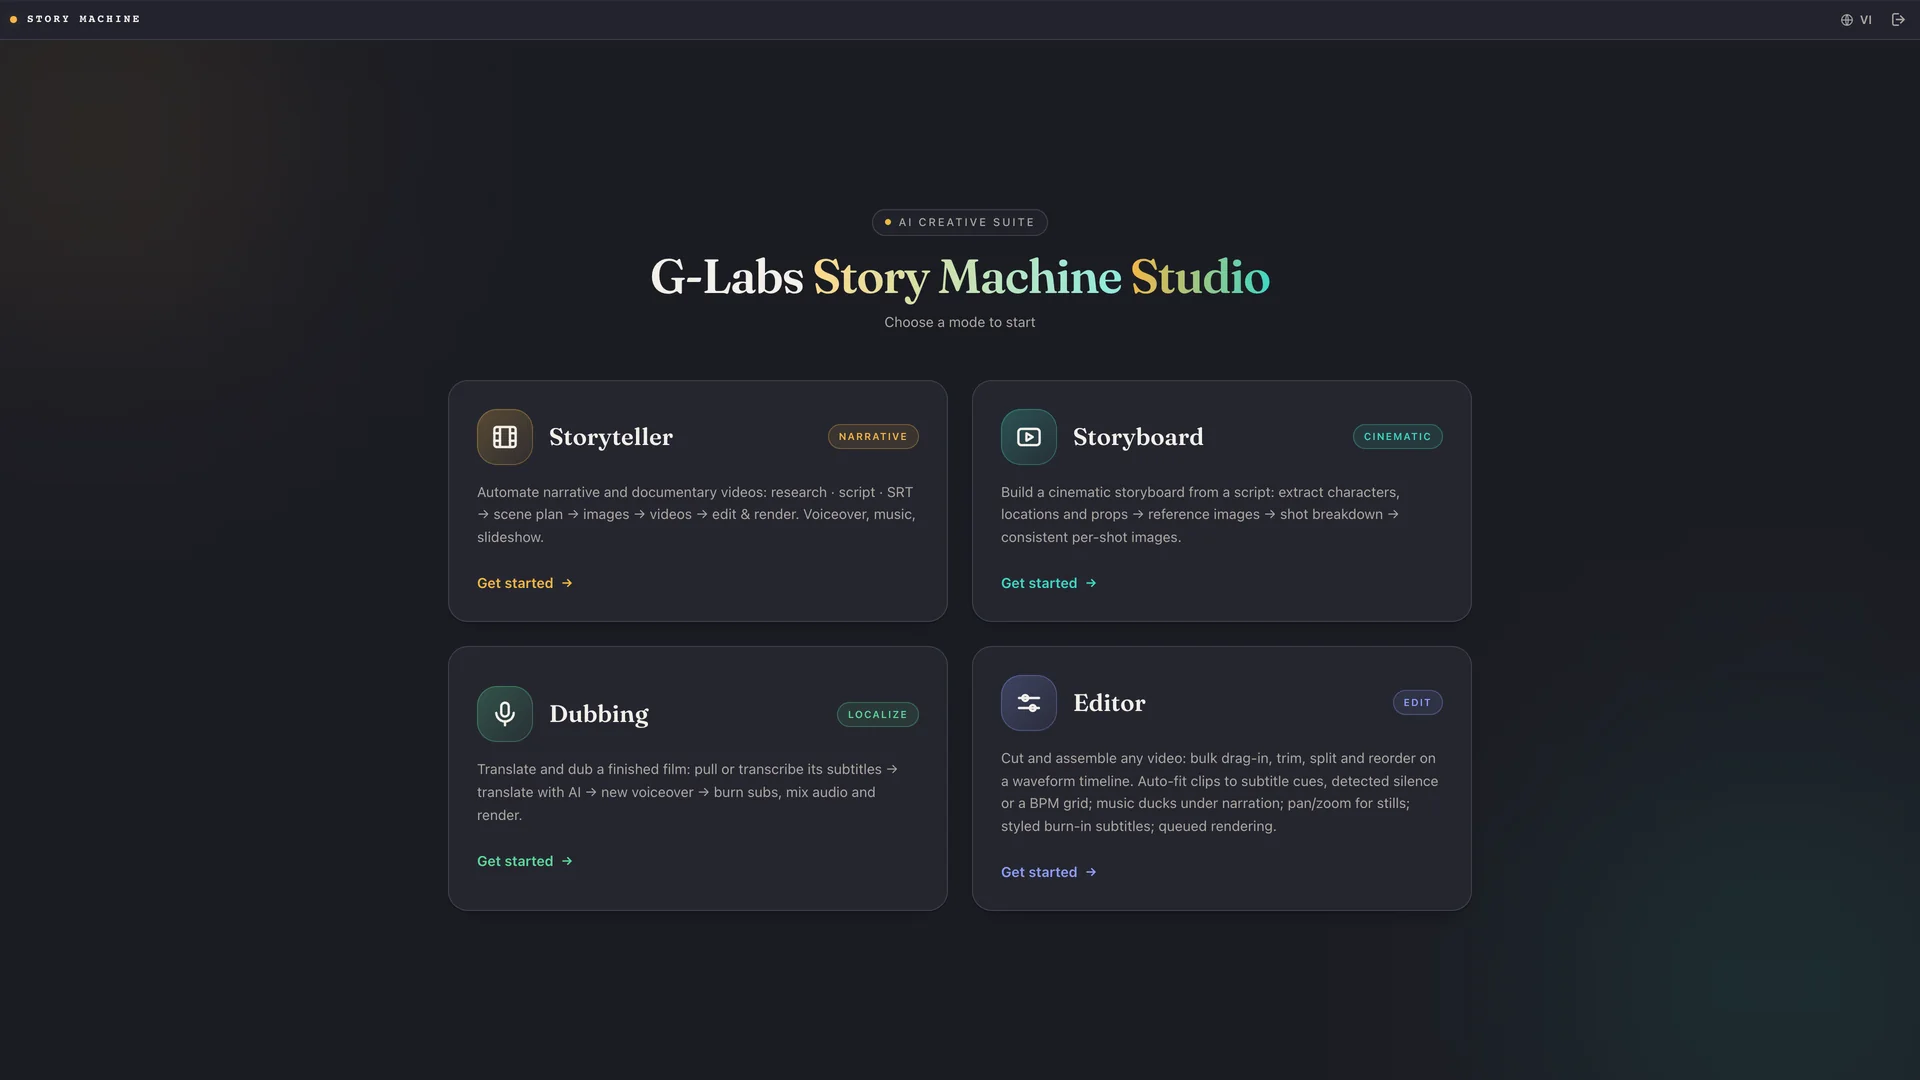
What Story Machine is
Story Machine is not a button that spits out a video. It is a pipeline: every stage is its own page, the AI does the heavy lifting and then stops so you can review, edit and re-run — before moving on.
AI writes
Finds the story, splits it into scenes, writes the image prompts and the motion prompts.
AI draws & animates
G-Labs Automation paints the images and turns them into clips.
AI narrates
Voice Studio runs offline and reads the narration on the exact timecodes.
.srt file or a script, you can skip step 02 (Story) and go straight from step 01 to step 03.Requirements & connections
Story Machine conducts; the other two apps do the heavy work. All three run on your own machine.
127.0.0.1:8765)
Used to paint the images and build the videos. Leave it off and those two steps stay locked.127.0.0.1:8766) — optional
Only needed if you want narration. Skip it for a silent video.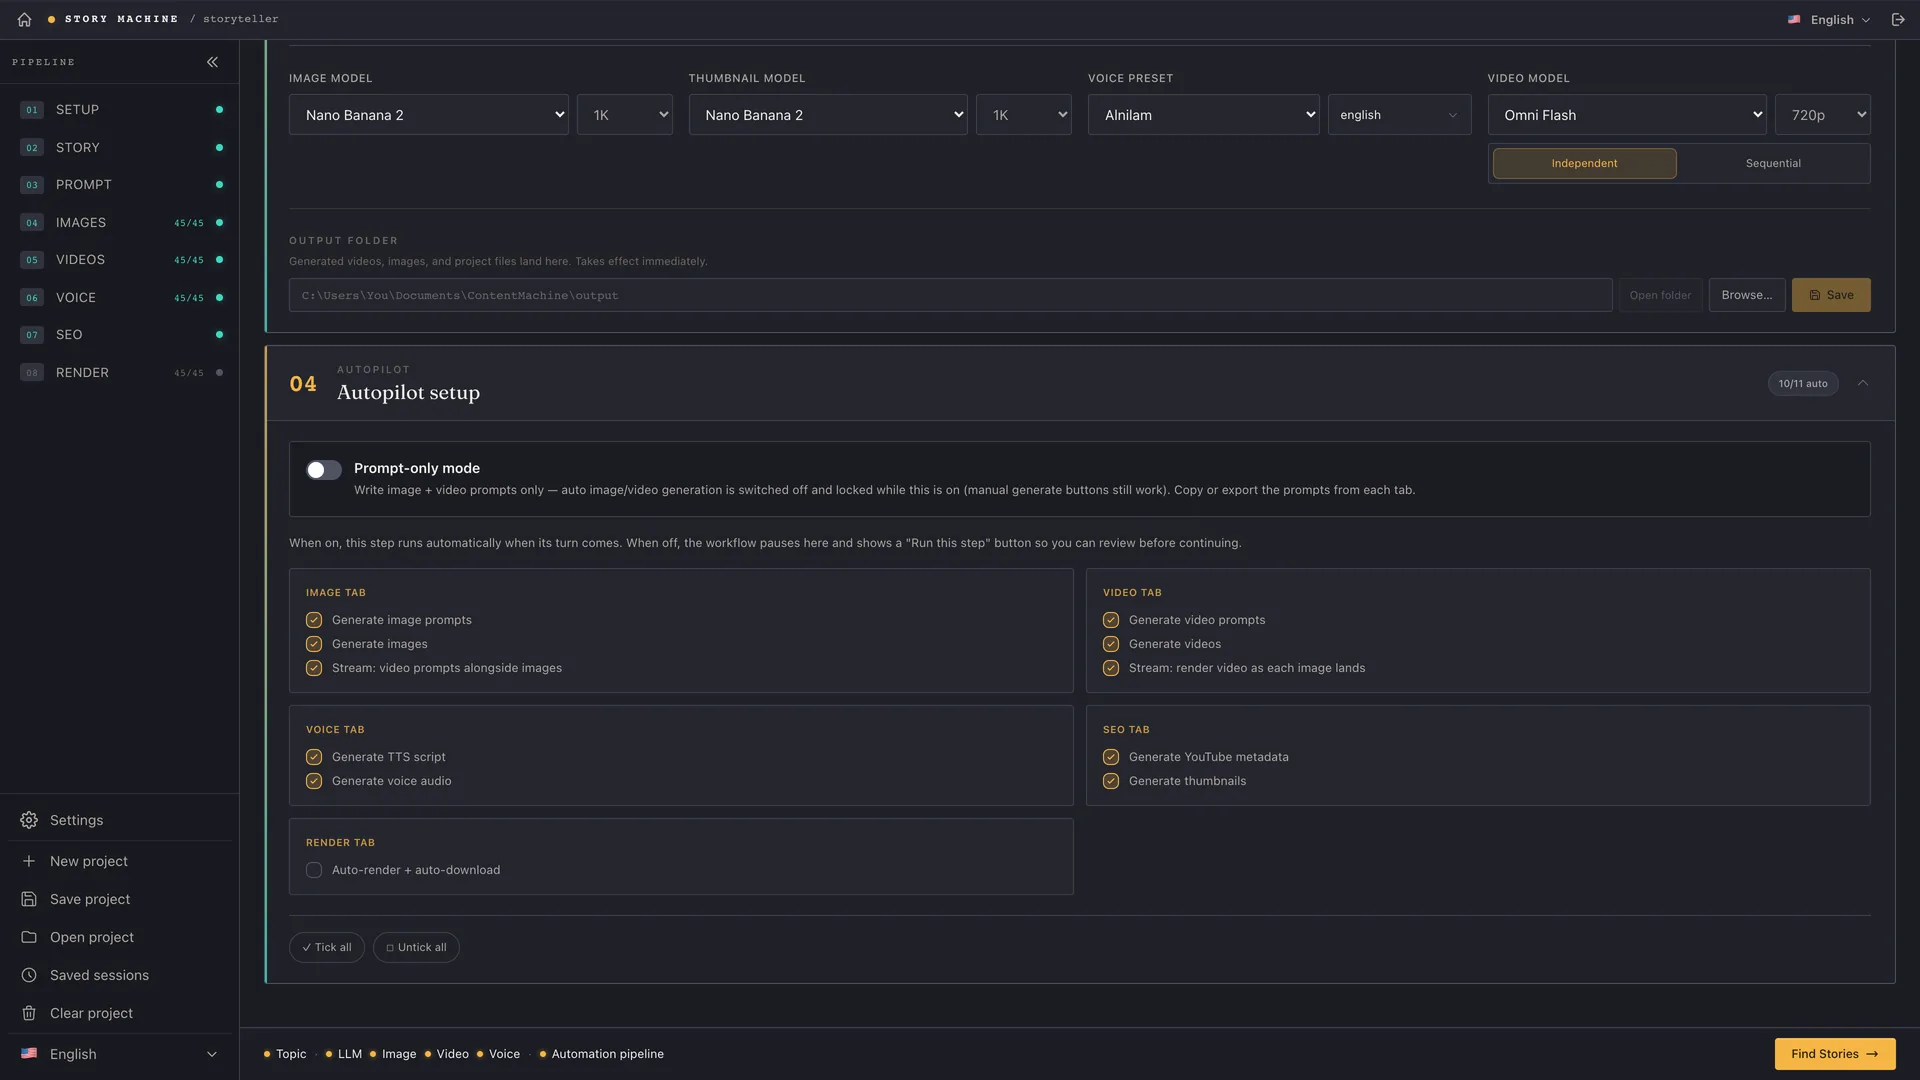
Setup
Pick your input source — this is the decision that shapes the whole project:
- Video from a topic — you type a topic, the AI researches it and writes everything. Runs through all eight steps.
- Video from subtitles — load an existing
.srtfile; the subtitle timing becomes the video timing. - Video from a script — paste your own narration, and the app splits it into sentences and estimates the durations.
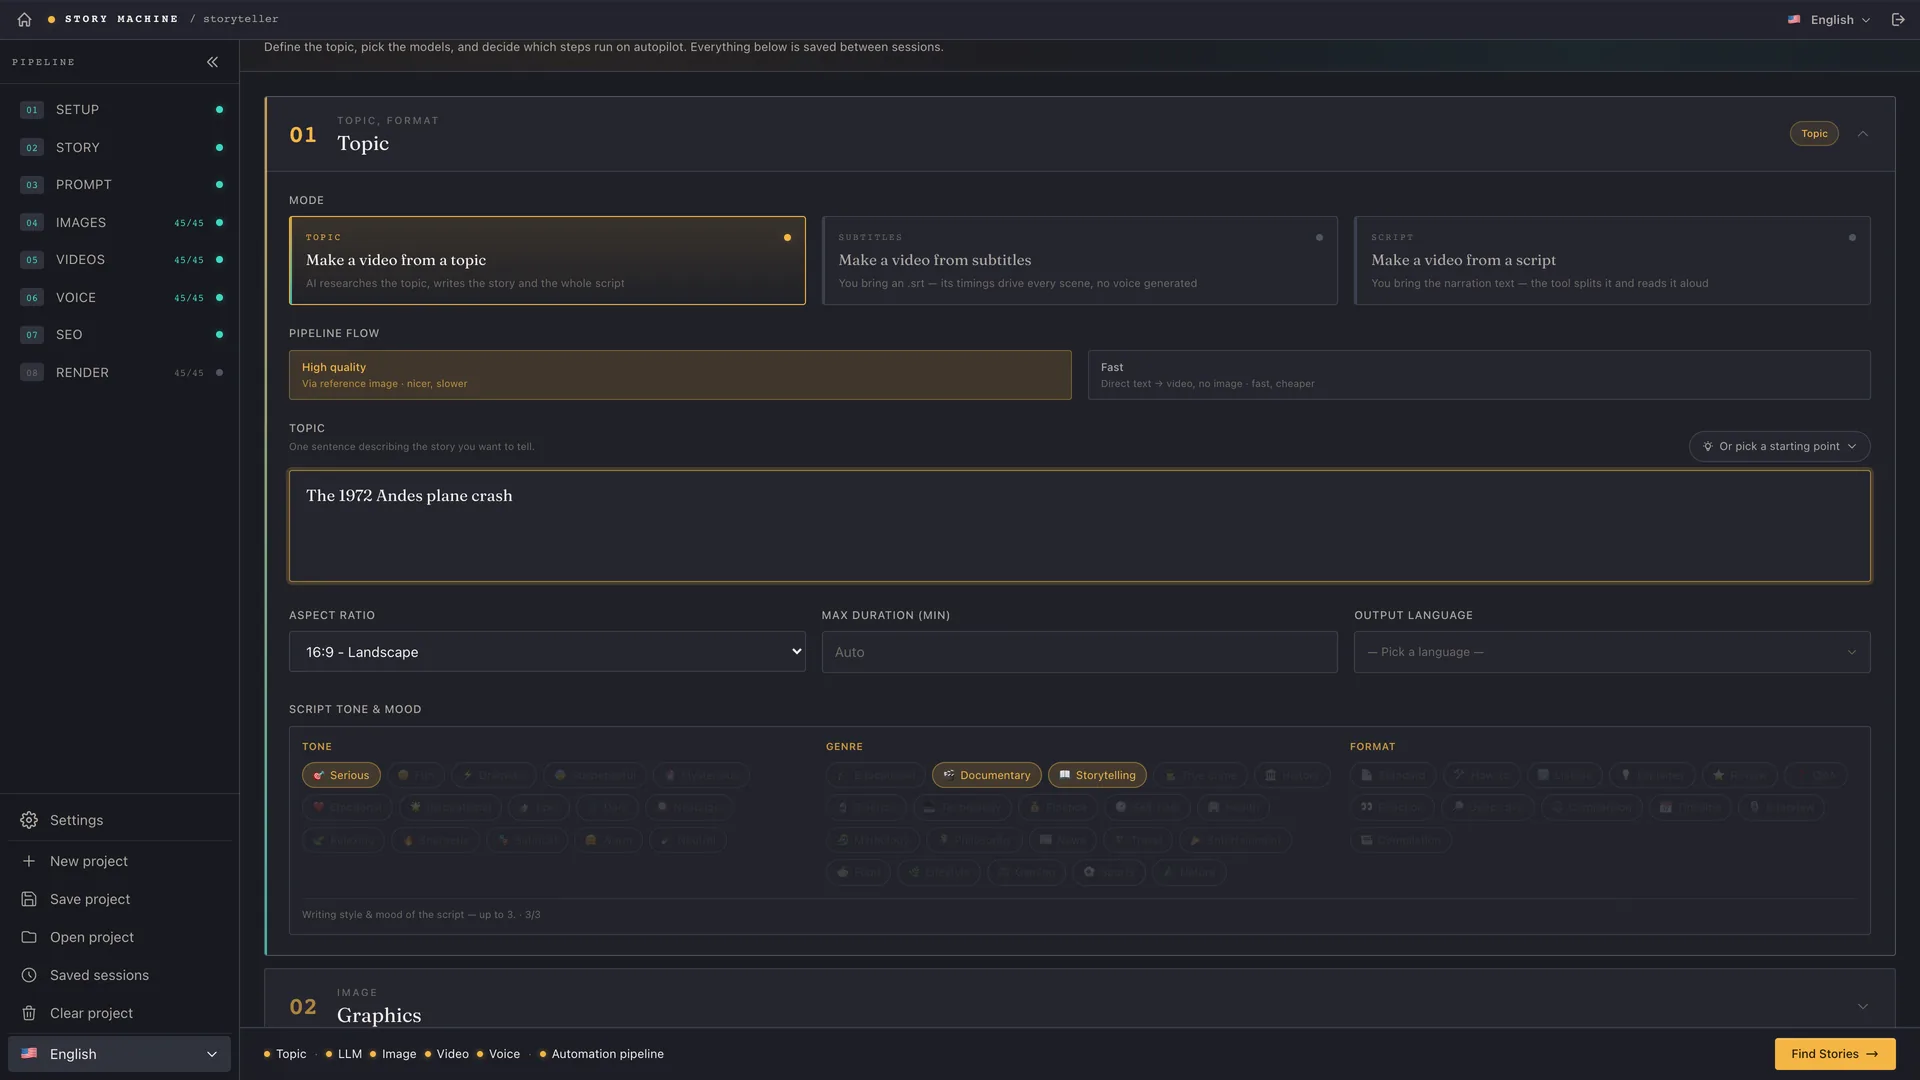
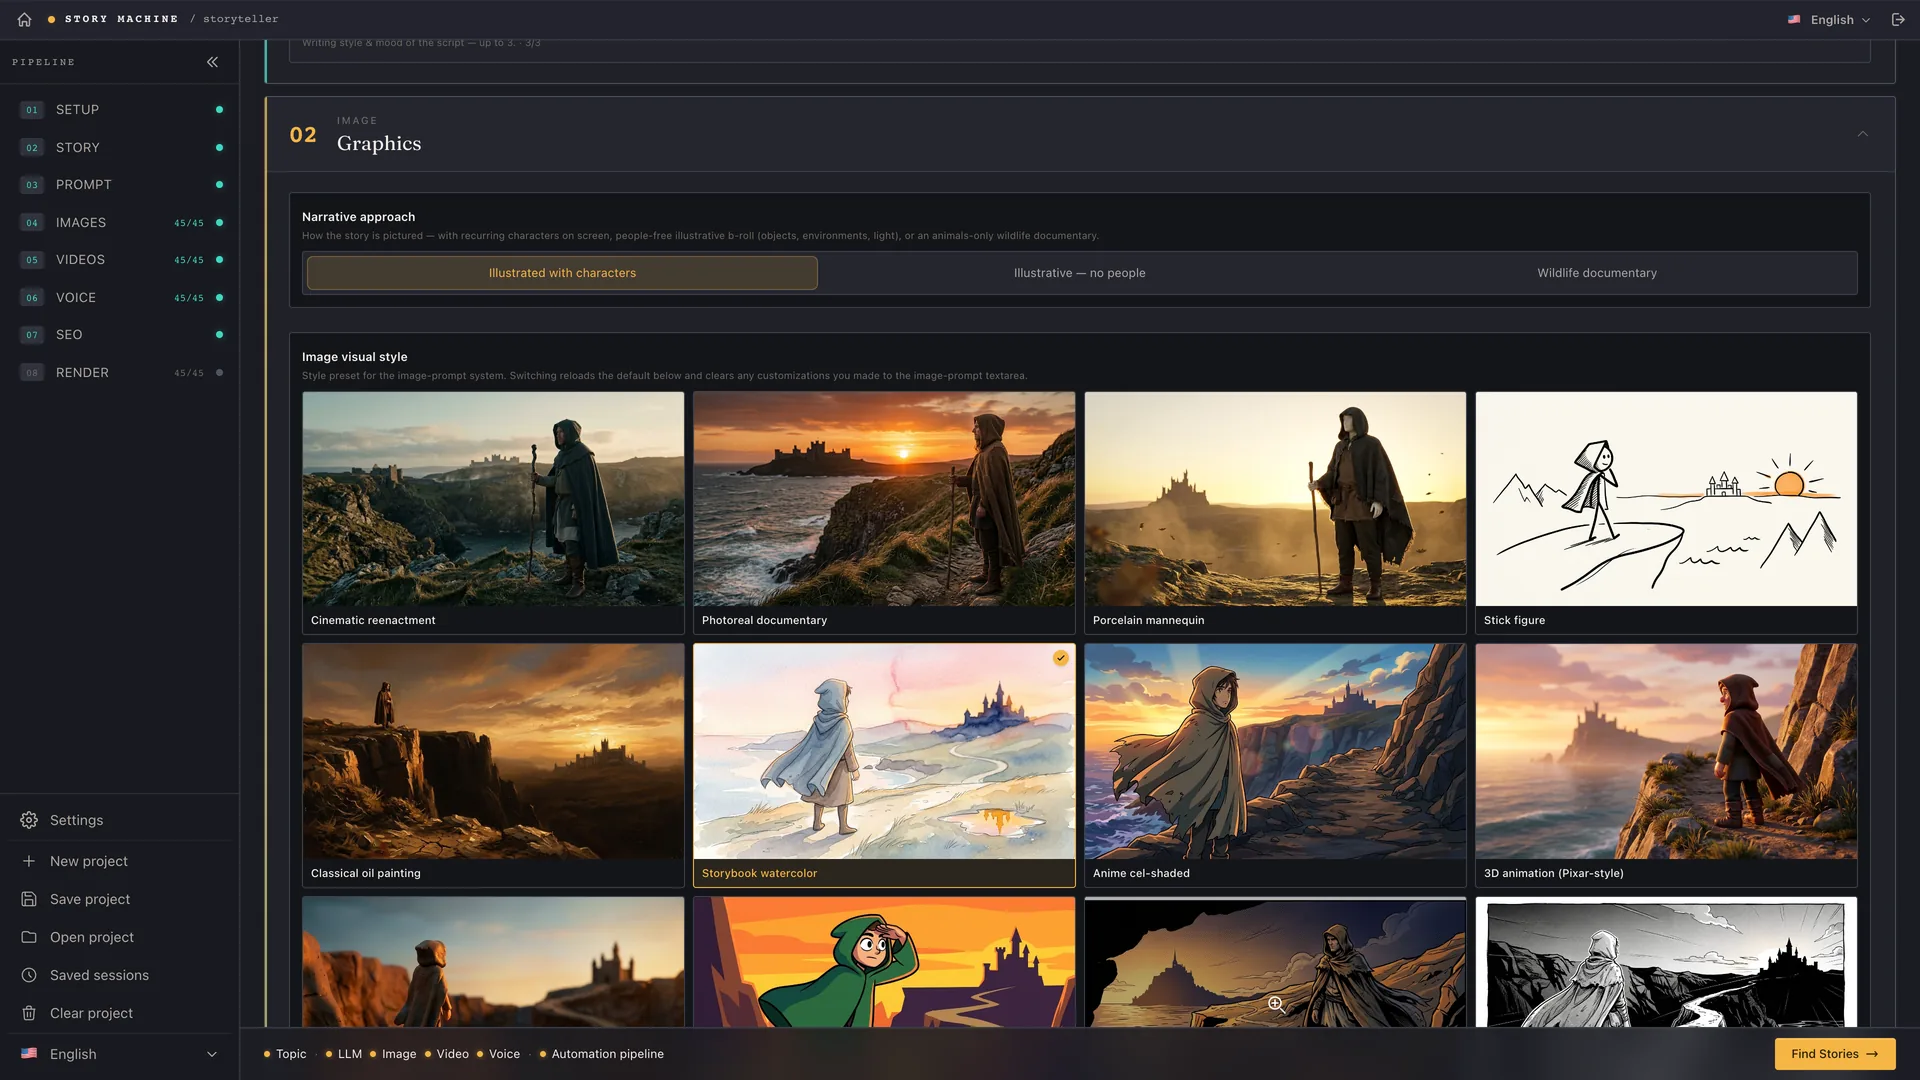
.srt file.Scroll down to the Visuals section to choose the narrative angle and the visual style — there are 46+ styles built in, from cinematic and documentary to animation, stick figures and layered paper cut-outs.
Story
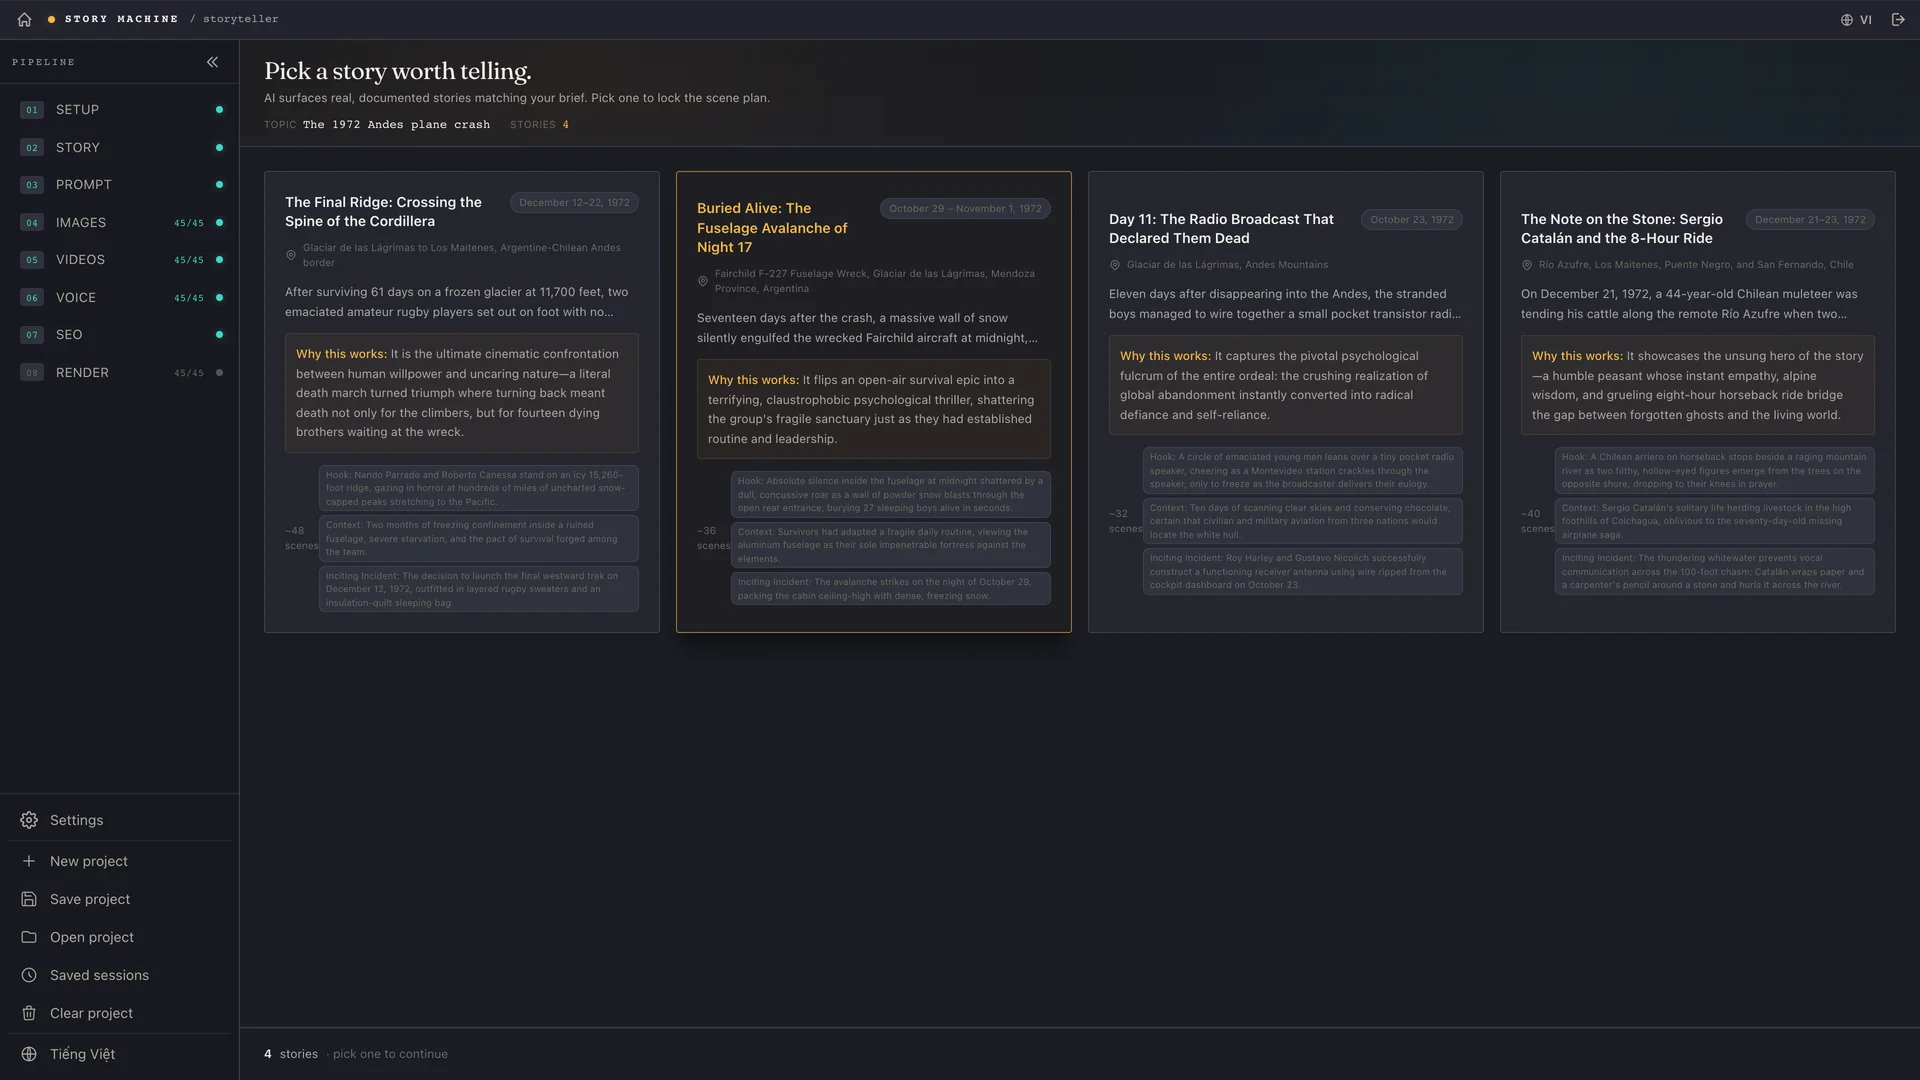
Only appears if you chose Video from a topic. The AI comes back with four true stories, each with a summary, a reason it works, and source references so you can check it.
Scene planning
This is the step that turns words into a visual blueprint. The script is cut into timestamped beats, each beat is tagged by type — narration, cutaway, or atmosphere — and each one gets its own image prompt.
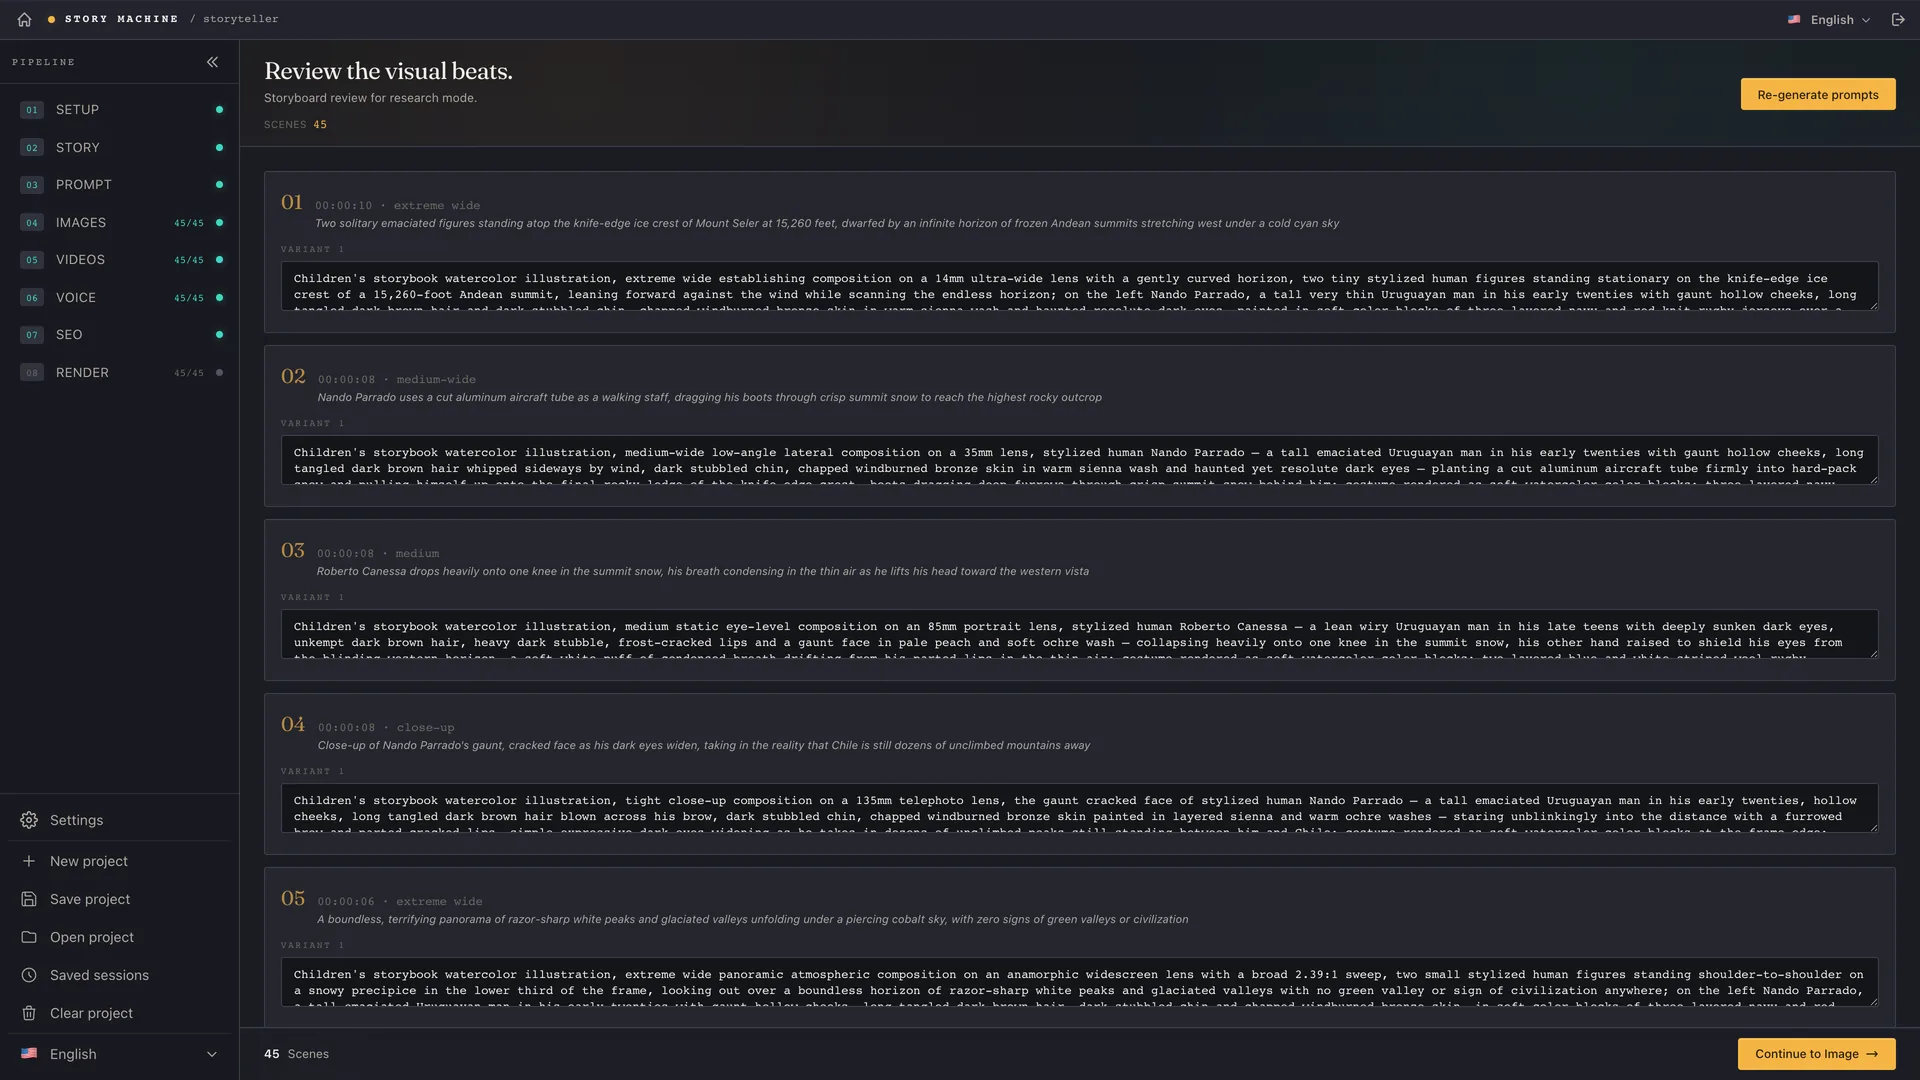
- The pacing slider at the top sets how long each scene runs — longer scenes mean fewer images, shorter scenes mean a faster cut.
- Regenerate a single scene when its prompt is not what you wanted, instead of re-running the whole file.
- Prompts are written in English because image models understand English better — the content still follows your narration line for line.
Images
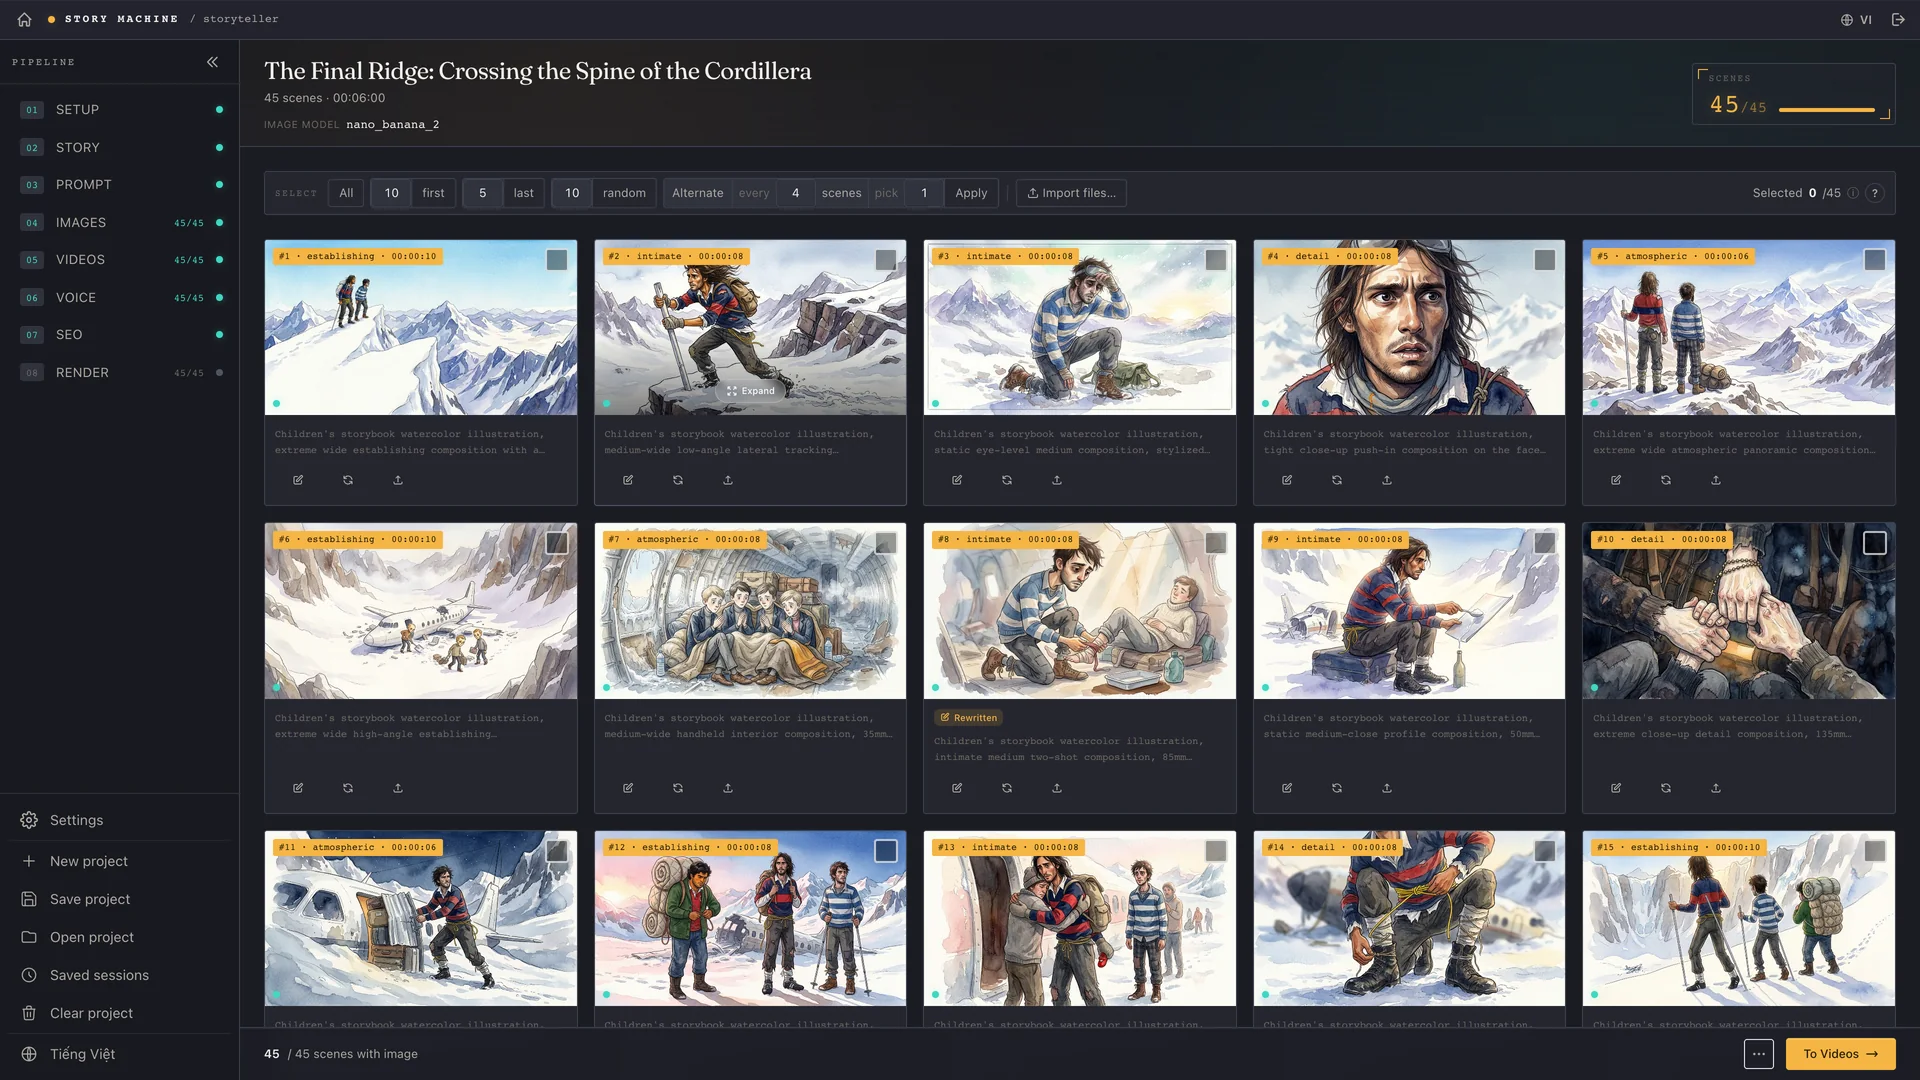
Sends the prompts over to G-Labs Automation in bulk. Images appear in the grid as they come back.
Work in bulk
Select several scenes, or drag a marquee over them the way you would over files, then regenerate exactly that group. There is a Generate selected (N) button.
Import your own images
Already have artwork of your own? Bulk import and match by filename or by order — with a preview table before anything runs.
Videos
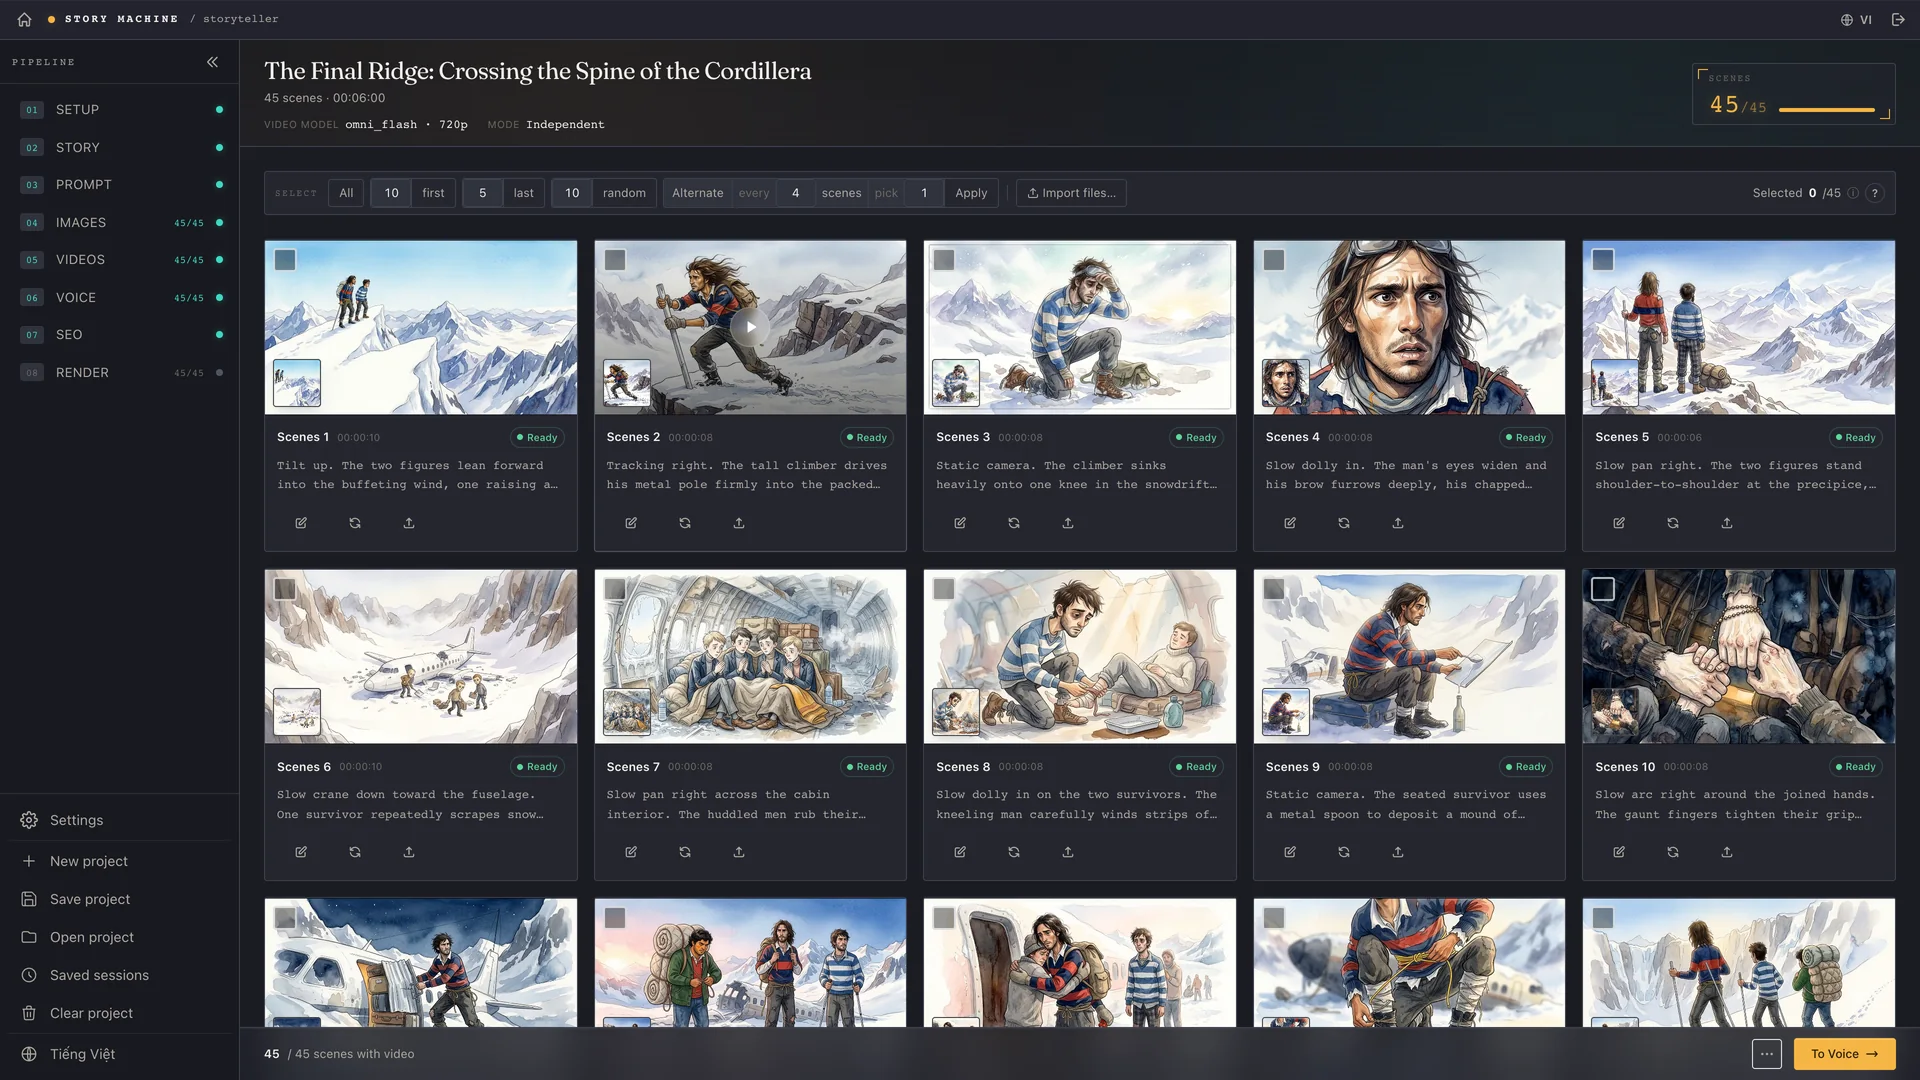
Every image becomes a short clip with motion. The key point: the video prompt describes only the action and the camera move, never the content already in the image — because the image is the first frame.
Voiceover
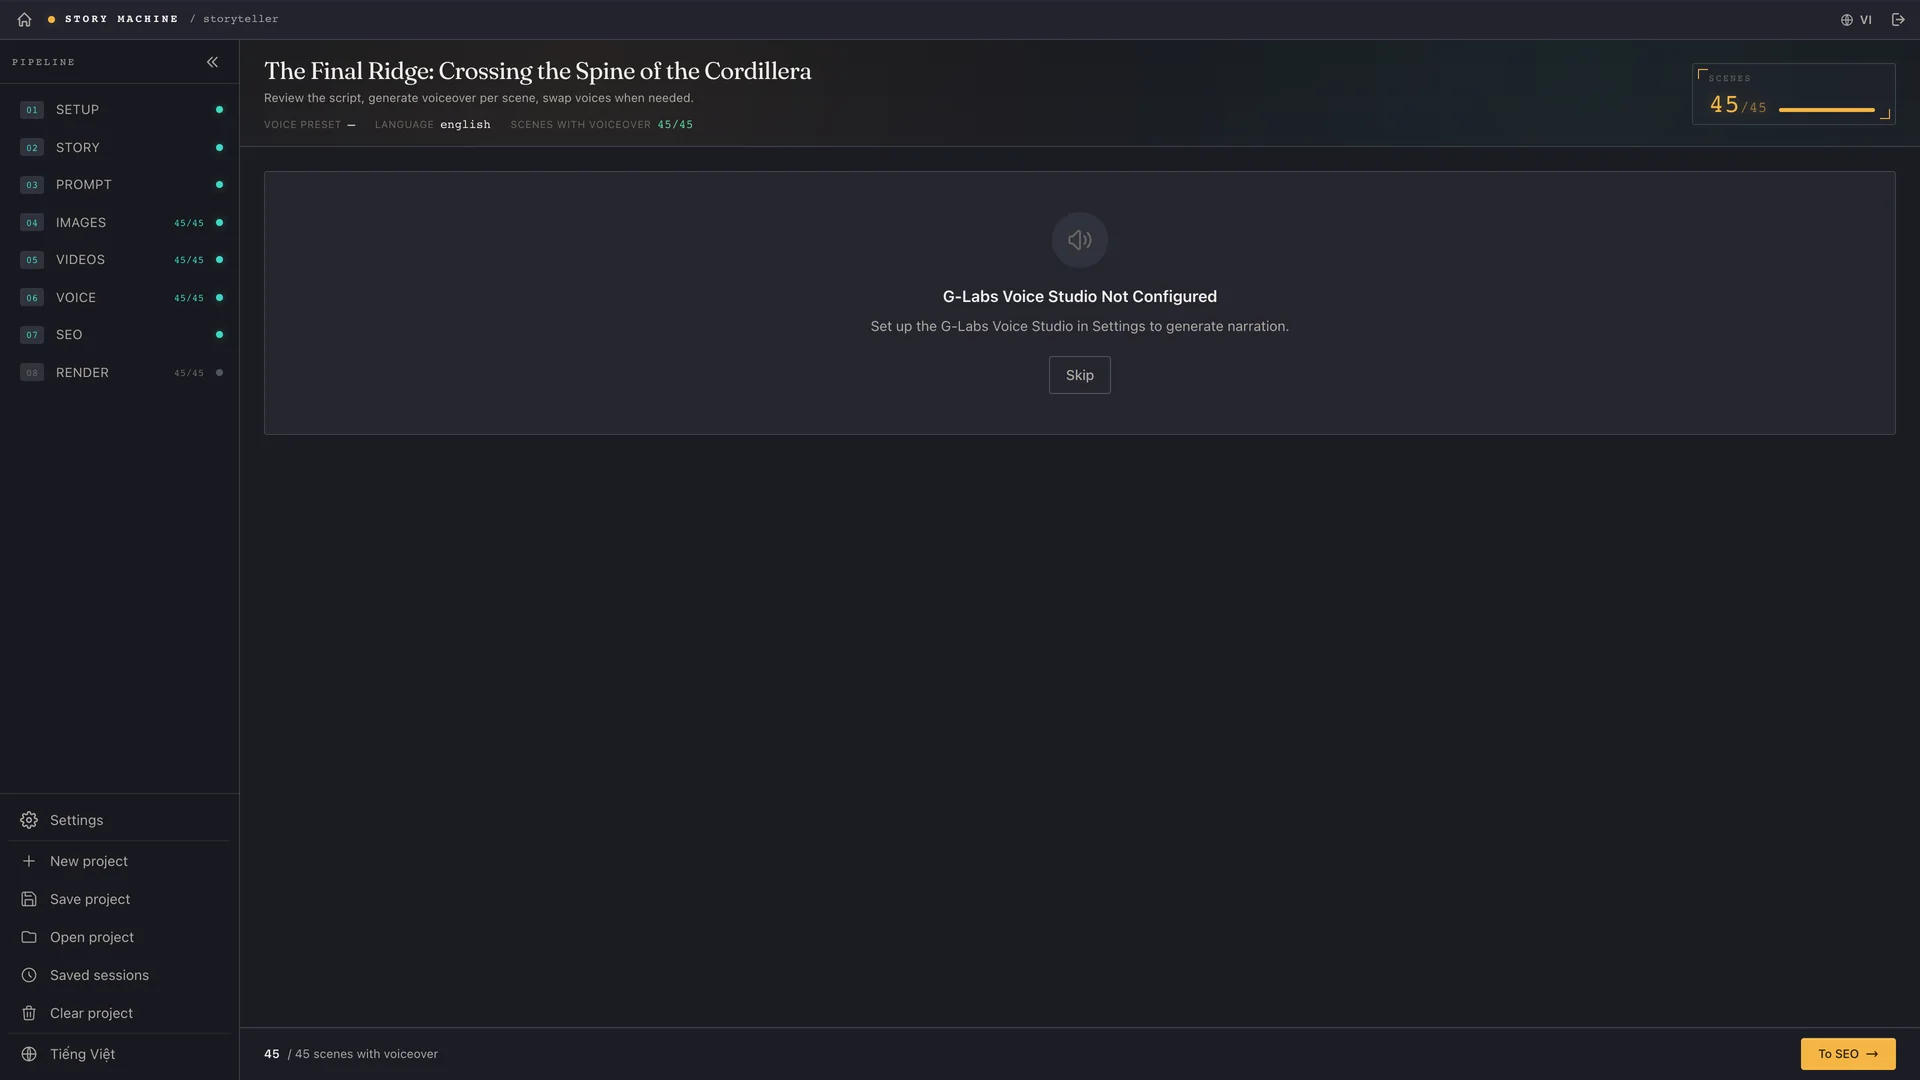
Hands off to Voice Studio, which runs offline. The app reads one sentence at a time on the subtitle timecodes, so the narration always lands with the picture.
SEO
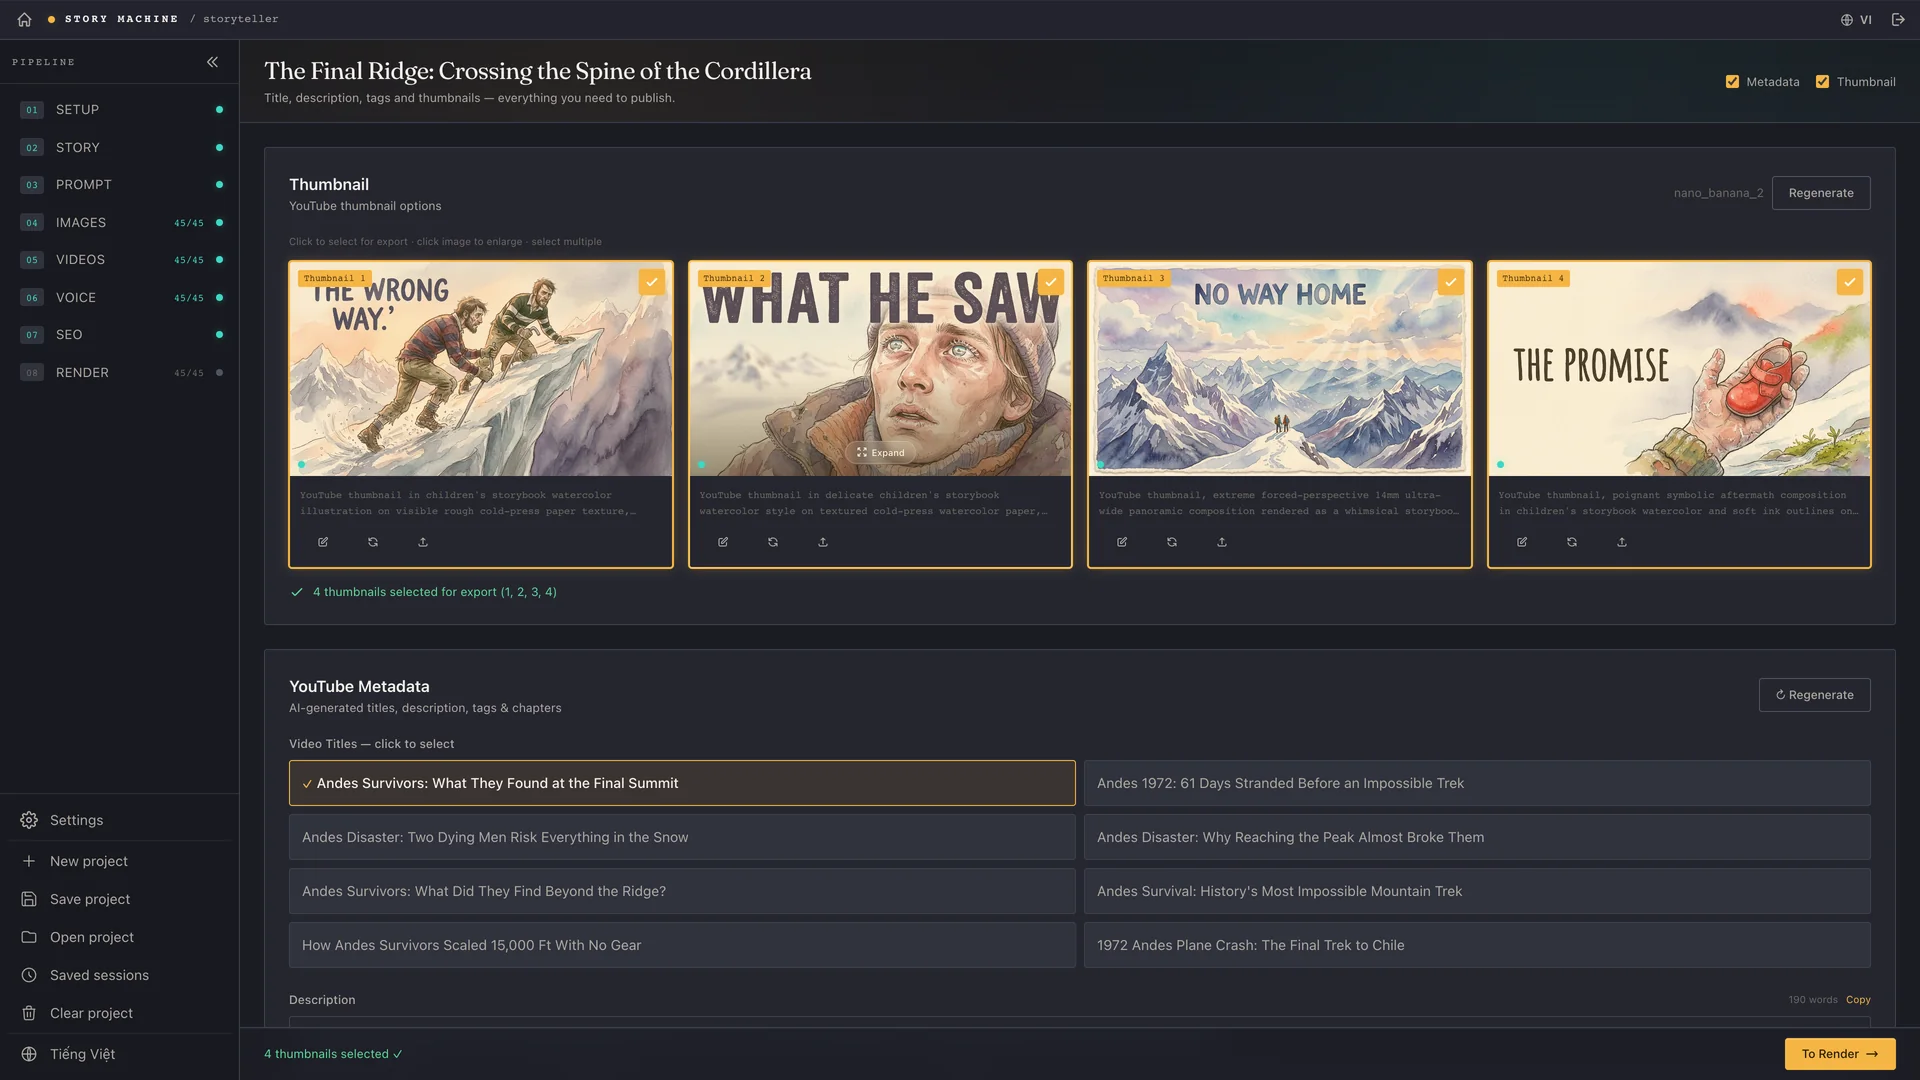
Generates the title, description, tags and chapters for YouTube, plus a thumbnail drawn specifically for the film.
Render studio
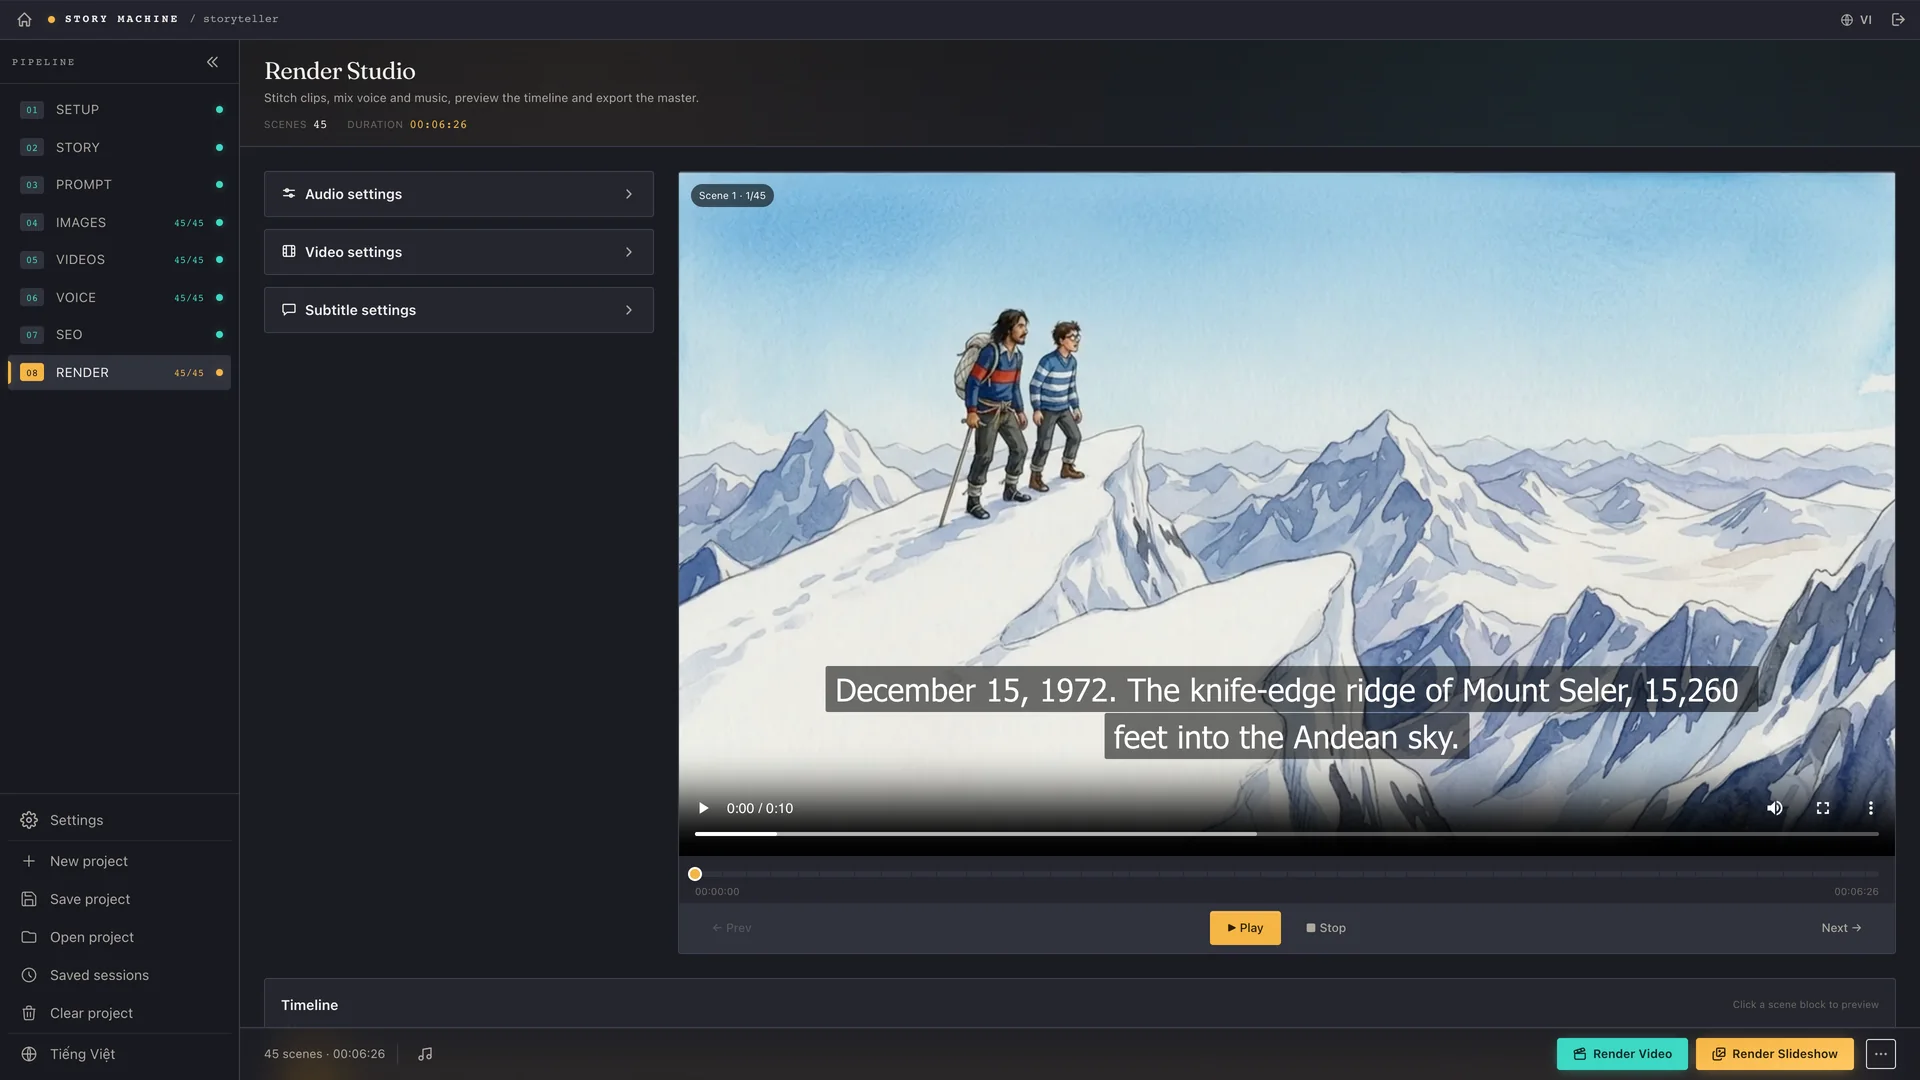
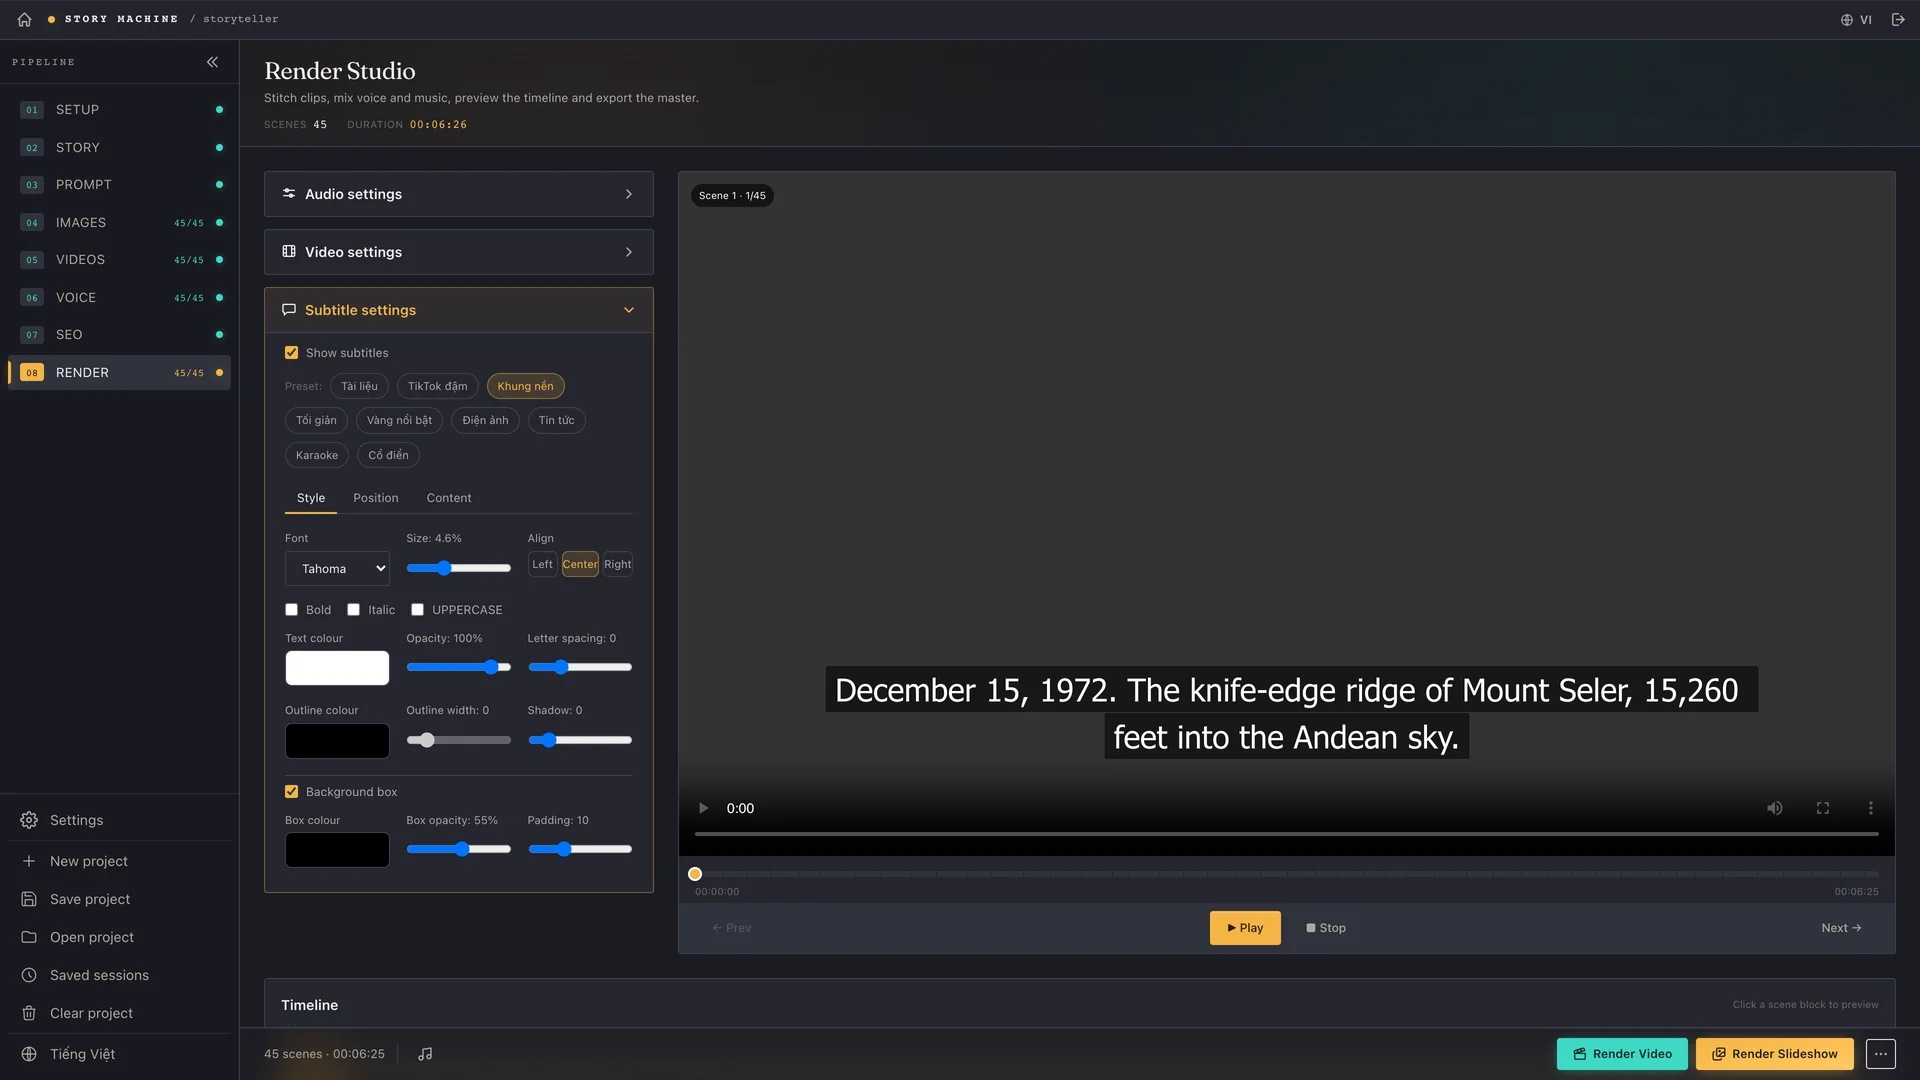
The final step assembles everything: clips, voiceover, background music, subtitles — on a timeline with waveforms.
Audio settings
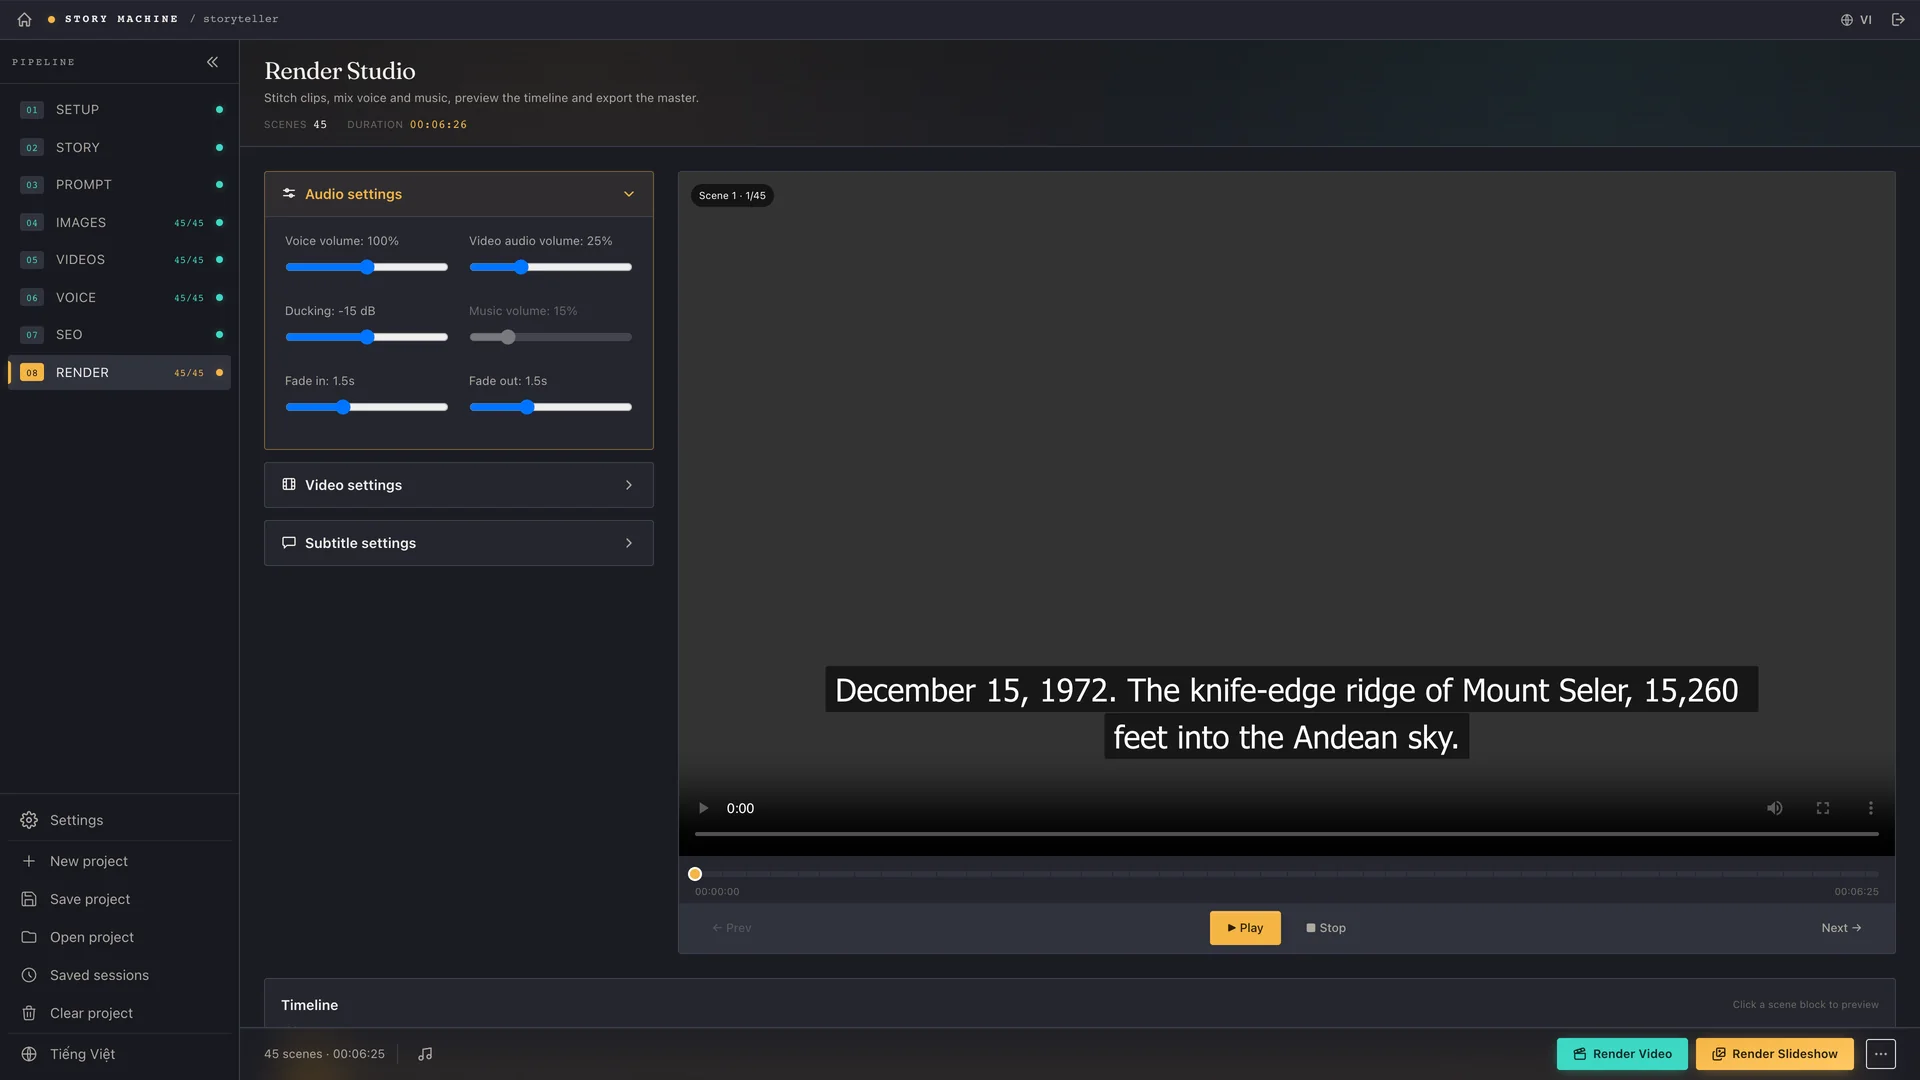
Set the voiceover and background music levels, and most importantly the ducking — the music drops itself under the narration and comes back up when the line ends.
Subtitle settings
Turn on burn-in subtitles and set the type styling. Subtitles are written into the picture, so they show up wherever the video is played.
The other three modes
Storyboard
Builds a cinematic storyboard from a script: extract the characters, locations and props → paint reference images → break it into frames → draw every frame consistently.
Dubbing
Translates and dubs an existing film: pull or transcribe the subtitles → translate with AI → new voiceover → burn in subtitles, mix the audio, render.
Editor
Cuts any video on a timeline with waveforms. Snaps clips to subtitle lines, to detected silences, or to a BPM beat grid.
Tips & troubleshooting
The image/video model dropdown is greyed out and will not open
G-Labs Automation is not running, or the webhook address is wrong. Start that app, check the webhook at 127.0.0.1:8765, then hit Refresh in the Config panel.
The Voice step says Voice Studio is not configured
Open G-Labs Voice Studio, go to the Webhook tab, start the server (127.0.0.1:8766) and paste the API key into Story Machine. Making a silent video? Hit Skip.
A few scenes came out broken or off-content
Do not re-run the whole project. Select exactly those scenes in the grid and hit Generate selected. If the prompt is the real problem, go back to the Prompt step and fix it first.
The video stutters or characters come out deformed
Usually a motion prompt carrying too much at once. Cut it back to one action and one camera move, for example “slow push in, the animal lifts its head”.
The background music drowns out the narration
Open Audio settings in the render studio, raise the ducking amount and lower the background music level.
The project is huge and slow to reopen
Use Save project / Open project in the sidebar. Each session lives in its own folder under output/; reopen that session and you carry on where you left off.